
Deploy Nextcloud on Ubuntu Server 22.04
Nextcloud is a suite of client-server software for creating and using file hosting services. It is open source software, and it was forked from another free, open source project called OwnCloud back in 2016. It is currently the most popular on-premises content collaboration platform you can download. And it runs on anything – from a Raspberry Pi to a bare metal server.
Nextcloud features.
Think of Nextcloud as a self-hosted alternative to Dropbox or Google Drive. But instead of your data being stored on a 3rd party’s infrastructure, it is hosted on yours. This means you are not at the mercy of whatever terms & conditions are applied by the vendor. This means it is fully on-premise, making compliance and security easier to maintain. Nextcloud is not just a simple file storage application, however. Here are some of it’s features:
- Nextcloud Files : enable Dropbox-like file sync and share between desktop and mobile devices.
- Nextcloud Chat : Chat and web collaboration tool that also includes a video call component.
- Collabora Online : An online office suite with editing and collaboration features.
- Integrations: Nextcloud allows a whole host of integrations with other business-critical tools, including Outlook, , Mozilla Thunderbird and SharePoint.
What you’ll need
To install Nextcloud 25, you will need a dedicated server or VPS running Ubuntu Server 22.04. You can get either of these from our preferred host, Serverfarm.me

Step 1: Install the dependencies
Apache, unzip and MySQL:
sudo apt-get install apache2 mysql-server unzip -yThe next step is to do the secure mysql installation. Run this command, and follow the prompts till completion:
sudo mysql_secure_installationAfter installation, you need to start and enable both services:
sudo systemctl enable --now apache2
sudo systemctl enable --now mysql
You also need to install PHP:
sudo apt-get install php zip libapache2-mod-php php-gd php-json php-mysql php-curl php-mbstring php-intl php-imagick php-xml php-zip php-mysql php-bcmath php-gmp zip -yNext, we can create the database. To do that, log back into the MySQL console with:
mysql -u root -pCreate the database with:
CREATE DATABASE nextcloud;Create the new user with:
CREATE USER 'nextcloud'@'localhost' IDENTIFIED BY 'PASSWORD';Where PASSWORD is a unique and strong password.
Give the new user the necessary permissions with the command:
GRANT ALL PRIVILEGES ON nextcloud.* TO 'nextcloud'@'localhost';Flush the privileges and exit the console with the commands:
FLUSH PRIVILEGES;
exit
Download and unpack the Nextcloud file
Download the Nextcloud source with the command:
cd /root
wget https://download.nextcloud.com/server/releases/latest.zip
Unpack the downloaded file with:
unzip latest.zipMove the new directory into the Apache document root, and set the correct permissions with:
sudo mv nextcloud /var/www/html/
sudo chown -R www-data:www-data /var/www/html/nextcloud
Configure Apache for Nextcloud
We now have to create an Apache configuration file with the command:
vi /etc/apache2/sites-available/nextcloud.confIn that file, paste the following:
Alias /nextcloud "/var/www/html/nextcloud/"
<Directory /var/www/html/nextcloud/>
Require all granted
AllowOverride All
Options FollowSymLinks MultiViews
<IfModule mod_dav.c>
Dav off
</IfModule>
</Directory>
Enable the new site with:
sudo a2ensite nextcloudEnable the necessary Apache modules:
sudo a2enmod rewrite headers env dir mimeIncrease the PHP memory limit with the command:
sudo sed -i '/^memory_limit =/s/=.*/= 512M/' /etc/php/7.4/apache2/php.iniAnd finally restart Apache:
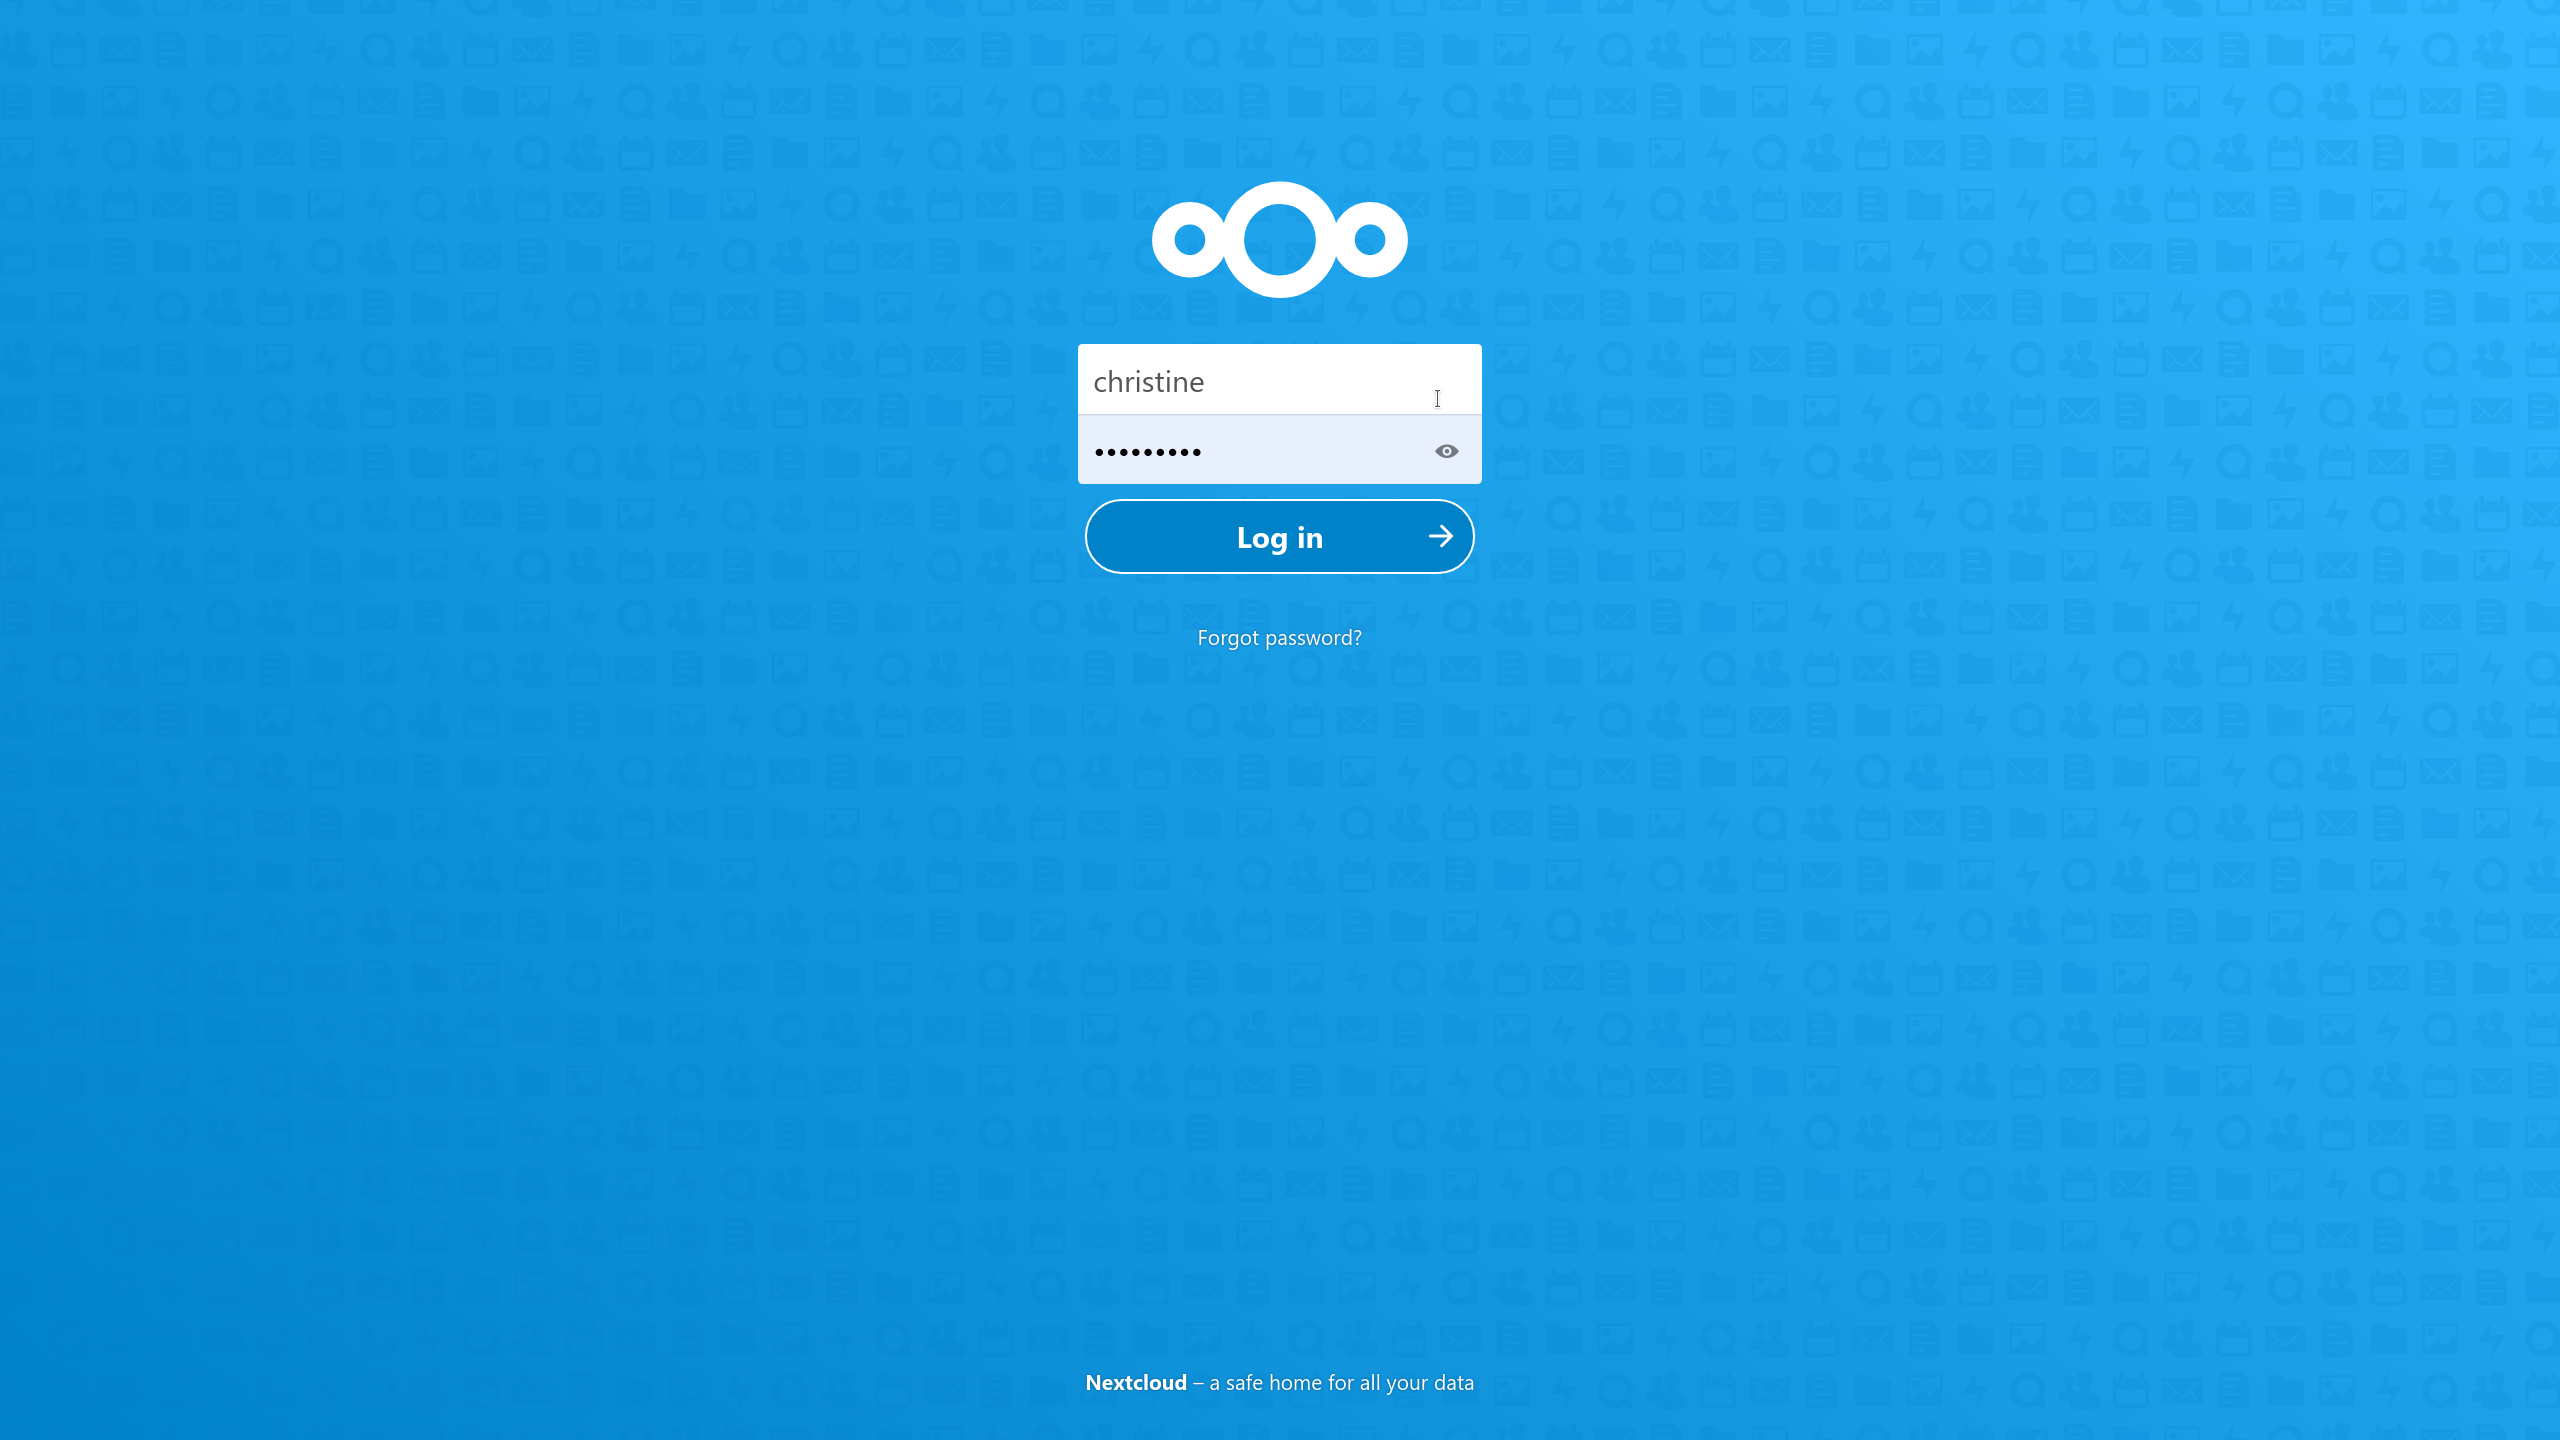
sudo systemctl restart apache2The rest of the installation will be one in the browser. Go to your Nextcloud installation by browsing to it: http://SERVER/nextcloud, where SERVER is the IP address of the hosting server. You should be greeted by the web-based installer, where you must create an admin user and fill in the details for the database:

Fill in all the details, including the database connection details from when you created the database. Once you are done, click on install. The web installer will now do the rest of the installation for you. After it is completed, you will be able to log in to the Admin section. This is where can then create users, etc.
And that is it – you have successfully installed NextCloud.